This blog offers information, and connections to nurture recent graduates. We welcome your participation on this and on our Facebook Page. The NTC continues to be deeply grateful to MEDITECH for its long history of support for this program. Over the years, MEDITECH has made it possible for the New Teacher Community to serve a vital role in helping our graduates to persist in a challenging, yet deeply rewarding profession.
Here are 10 ideas for your class meetings during distance learning. I use the Google Meet platform but these would work on Zoom as well.
1.Breathing– In school we always started our class meetings with taking 3 deep breaths. This helps us to relax and focus. There are lots of ideas out there for different ways to breathe and sometimes I let my kids make up their own. Here’s one example of aBreathing toolfrom Conscious Discipline. For our distance learning, we use STAR -Smile Take A breath and Relax. You can also say “smell the rose (breathe in through your nose) and blow out the candles” (exhale out your mouth)
2.Go Noodle-We used Go Noodle for brain breaks and transitions in school. During our distance learning, I tell the kids to make sure they have room to move. I share my screen and then pick one of our favorite Go Noodle selections. Check out their fabulous websiteGo Noodle.
3.Flashcards-During our distance learning I have been using flashcards as a warm up. I’ve been making my own- sometimes to review concepts or just for fun-like would rather? (See #10) I put the card up and the first person can unmute and answer. Sometimes to make it fun, I say “If you have the answer, put your finger on your nose.” Then I will call on someone to answer. I also use the chat feature-see more about that in a bit.
4.My name is-During our morning meetings we would often play games. One of our favorites wasMy name is ____ and I can ___.Students stand in a circle with voices off. I would start and my example might be “My name is Mrs. Honts and I can do this” (I might dab or do a disco dance move). Students would repeat and say “Her name is Mrs. Honts and she can (and then they would copy my moves). For distance learning, I say, “Mute yourself and then look straight at the camera and smile when you are ready.”
I call on someone to start and I remind students that whatever action they do, we must be able to see it. They love the challenge of this new version!
5.Good news, bad news or no news today-This was also something we did in our classroom-usually on Mondays. For our distance learning, I call on each student and they unmute and say good news or bad news and then share their news. If they don’t have anything, they say “no news today.” When their turn in over, they mute themselves again.
6.Choose a Letter– Assign each student to find an item in their home that starts with the same letter as their name. You can do this ahead of time or you can give them the direction and set a timer. At the end of the time students can share what they found in their home. Even during distance learning, I use sentence frames to practice academic language. Here’s an example
My name is Angel and I found an apple because I like apples.
My name is _________ and I found a ______ because __________.
7.Singing-You could sing a song together-we’ve had several birthdays during distance learning so of course we’ve sung to our classmates. We have a school song and kids love to sing that too as it brings us all together. You can play Disney songs (Let it Go anyone?) and have a sing along.
8.20 Questions– This is alway a favorite game to play anytime. During our distance learning meetings, we choose a noun first-person, place, thing or animal. I start usually by choosing a student and everyone takes turns asking questions. I let the winner choose the next time.
9.Chat feature-When we first started with distance learning, I taught my students how to use the chat feature. I created a screencast to show them where it was and how to access it. We also discussed expectations. I use the chat feature as an opportunity for students to respond to questions. Students are expected to put their answer in the chat box. I can call out when students get the correct answers or when they need to try again. During a spelling review, I might ask “what letters make the /ch/ sound?” The possibilities are endless!
When our meeting is over I can go back through and look at the responses.I often record our meetings to send to families who aren’t able to attend. Parents are aware that meetings are recorded. Sometimes my instructional assistant joins our Google Meet and she keeps track of questions and answers.
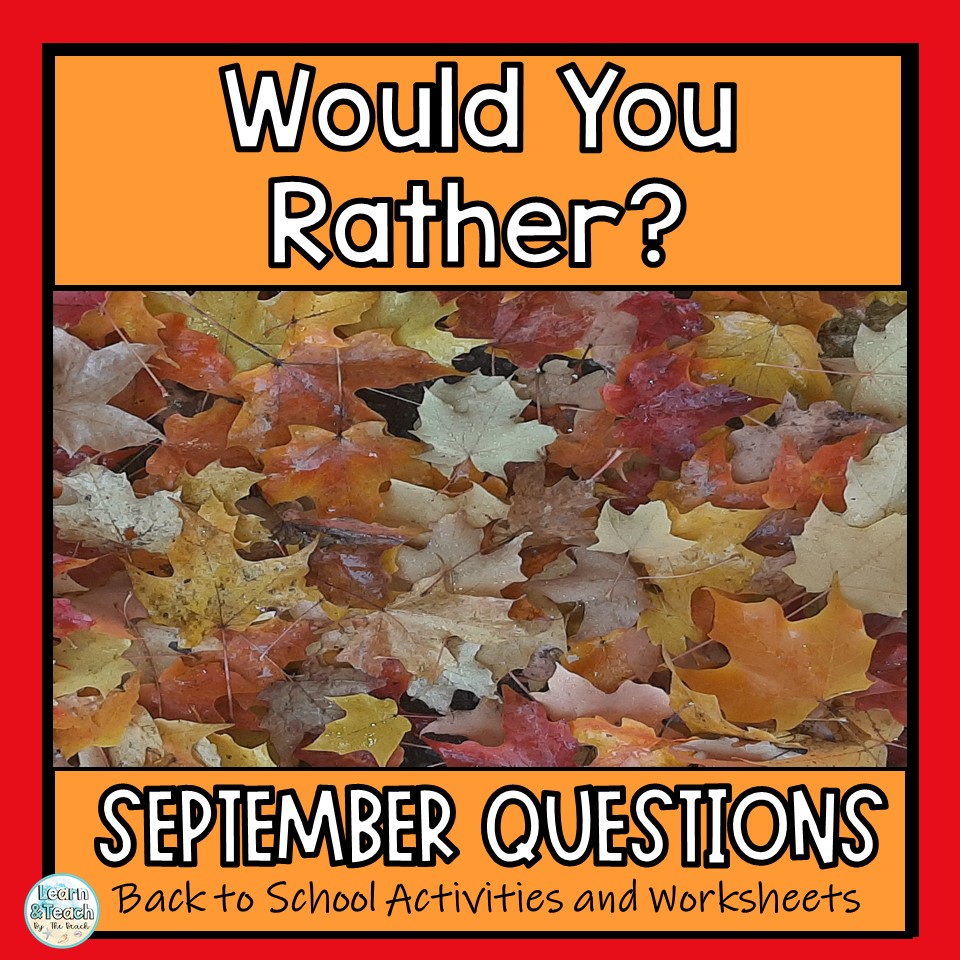
10.Would you rather?-My students really enjoy thinking about would you rather questions. These questions are fun and provide practice for answering in complete sentences. In addition students practice supporting their opinion. Here are someFall Opinion Writing Worksheets. During a Google Meet, you can ask the questions and have students respond individually or give a thumbs up with their answer choice. Here’s afree sample of Would You Rather Questions.
As you send your students off for the summer, here is a blog post with a list ofFun ideas for kidsthat they can do with their families. Want the quick checklist version? Clickhereto get your freebie!
I know these ideas will help you keep your kids engaged during your distance learning.
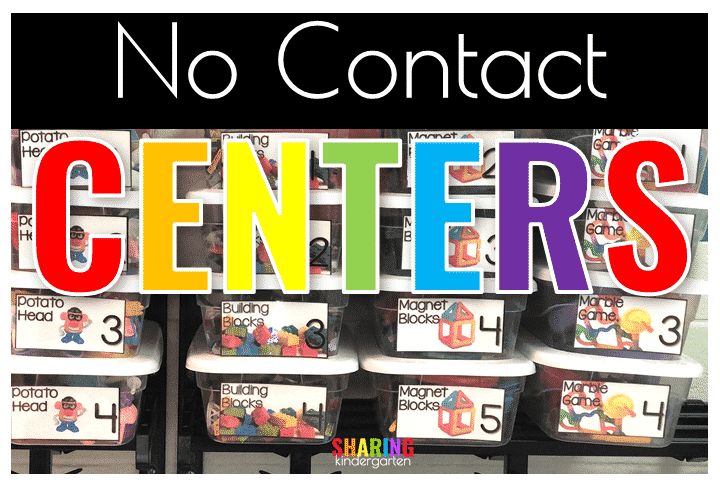
The big question in education is how can we keep students in one room, engaging our learners, and still allowing them to be well… KIDS?! Every school and every district will have different needs, but one thing I am sure that will be the same is this: no contact.So let’s dive into how we can still make and manage no contact centers in Kindergarten.
WHAT DO I CALL CENTERS?
Every teacher, school, area, and so on call different thing in their classroom by different words. When I say centers, some of you will instantly think about ELA activities or Math things. Centers in my classroom always start with PLAY and move towards skill building in the month of August.
Make sure you check with your specific school about what you can and can’t do!
We play as we learn to make a self selected choice, play in that select area for a period of time, clean up after ourselves, and then move on to another activity. All of these are skills I need my learners to master so they can eventually work on skill building.
My first thought with no contact centers was HOW to make this work with PLAY. My big thought is how we, meaning the class, must master play first. We won’t have typical Kindergartens this year, but instead we will most likely have a hybrid group of students who have been home for quite a while and some how didn’t finish a prekinder experience. These facts matter.Diving into curriculum early may not be our best bet this year.
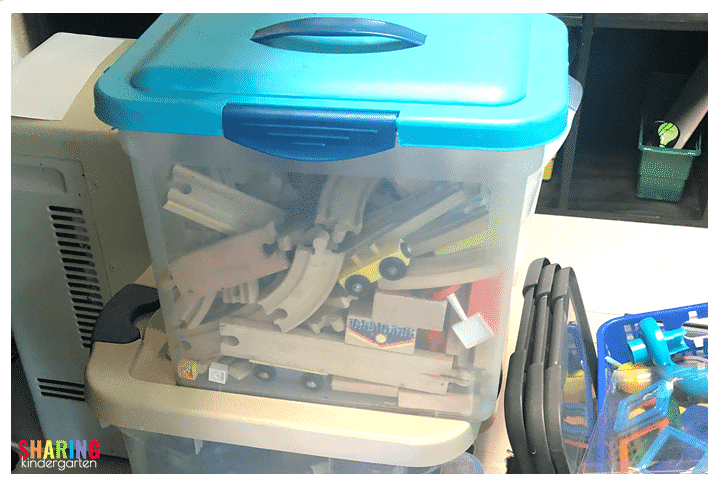
THE BEFORE PICTURE
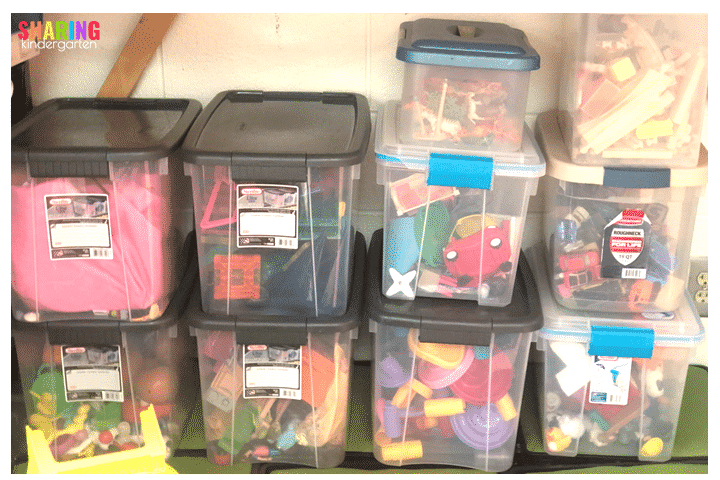
Here is an image of my play activities in my classroom. We typically put one tub on a table and work with students to share, take turns, and get along with each other. This is a huge skill we typically work towards in Kindergarten.
We clean these toys regularly but students typically touch them together at a table.I want to keep the toys, but I have to work on how to allow my learners to play without contact.
THE PLAN
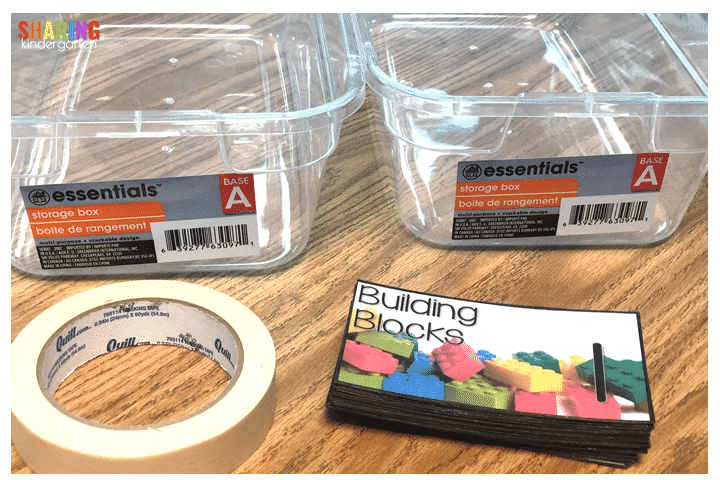
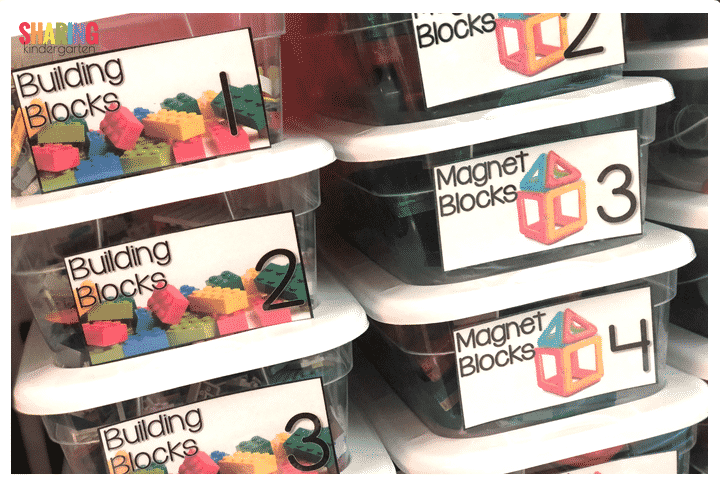
My solution to no contact centers seems pretty easy; break down the larger bins into individual bins so students can still have access to the toys, but not access to sharing toys.
I went to The Dollar Tree to grab LOTS of bins. These clear storage boxes will work great.I also added some no contact center labels for each bin. Since I am working through how this will work in my classroom, I am applying the labels with tape until I have everything sorted, then I will come back with hot glue to secure.
I wanted bins with lids, items in bins to be enough to engage students for a short period of time, toys to limit their movement from a designed area (think cars, trains, etc.), and to provide activities in the bins that can be cleaned.
SORTING ITEMS
I went through each large toy bin, one by one. I put away any toys that did not have 100% hard surfaces or anything I couldn’t clean, like foam or cloth. Those will not be going to be used this upcoming year.
I also have to make sure each bin has enough toys in it to keep students occupied, but that the lid will still close. Working through each toy bin actually took me quite a bit of time. More time than I thought. I did not want to rush through it and have issues when we go to centers live with students.This isn’t a dump and rush through job.
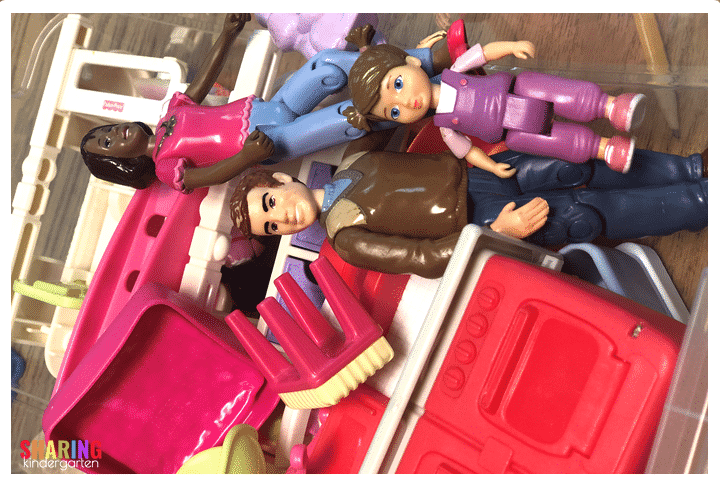
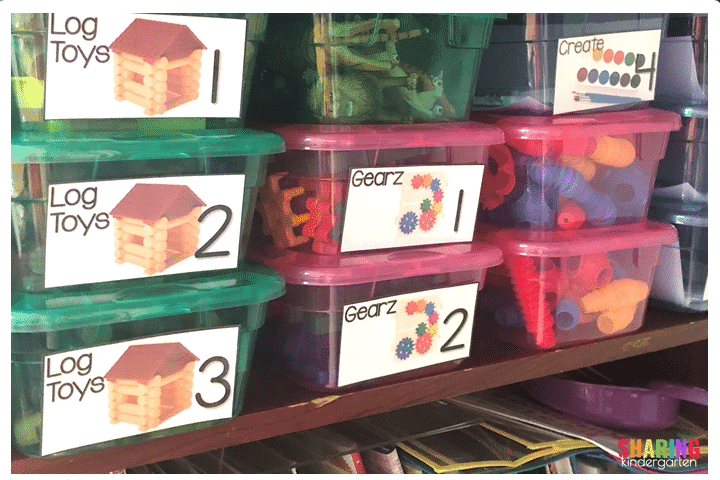
Next, I have to take time to make each small bin work. You can see my family and house items. I took the large play house away and divided up the furniture by rooms into 4 small bins. Each bin also gets people and a baby.
All my lego centers have wheels and a person. Then, each marble game has bases and a marble. Next, potato heads have matching parts for arms and ears, and a variety of items to make them silly. As you can see, take this time NOW to save you headaches later.
CENTERS THAT WILL STAY ALL YEAR
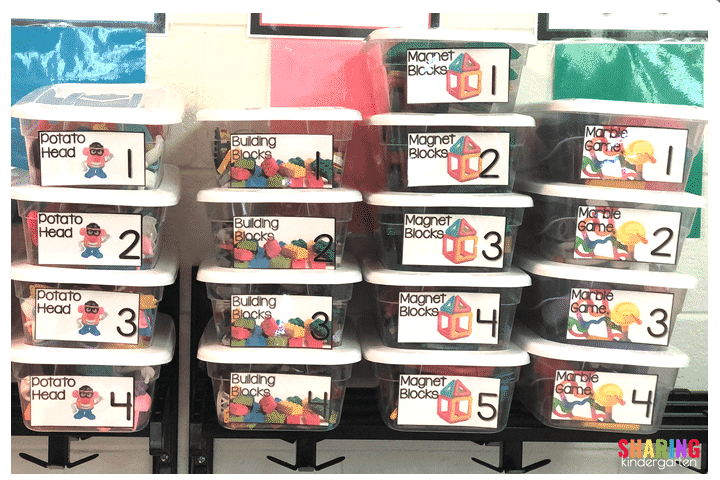
Next, I made sure to label each bin with a number. I envision students having a favorite doll they want to play with that is in Doll #2 bin or a lego man from Lego #3 bin. Since we desire no contact from student to student, labeling bins this way may be a huge help in the long run.
All the bins that are in clear containers are bins that will stay in there the entire year. These are the classic toys we play with often and year after year.
Just having this done lowers my stress level so much. Rainy recesses are no longer going to be an issue. We can do this! And I will explain my no contact plan soon, too!
BINS THAT CAN CHANGE
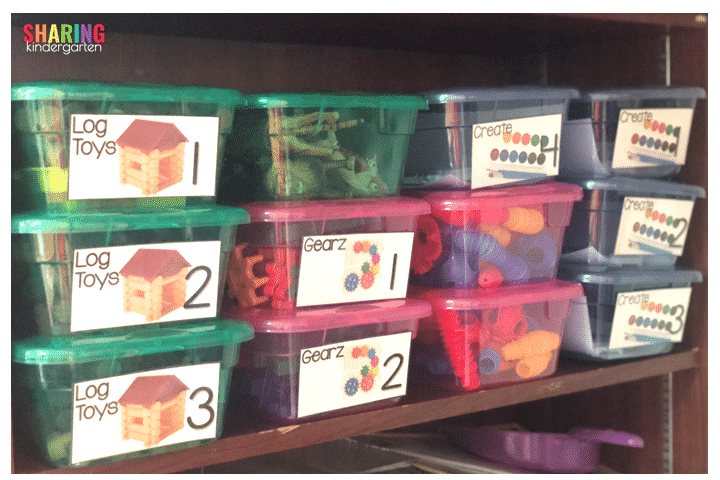
Next, I grabbed some colorful bins at The Dollar Tree. These will be bins that I will change out material from based on student interest. My students generally like these materials, but don’t play with them ALL the time or these bins may have materials that I need to replenish or restock, such as art.
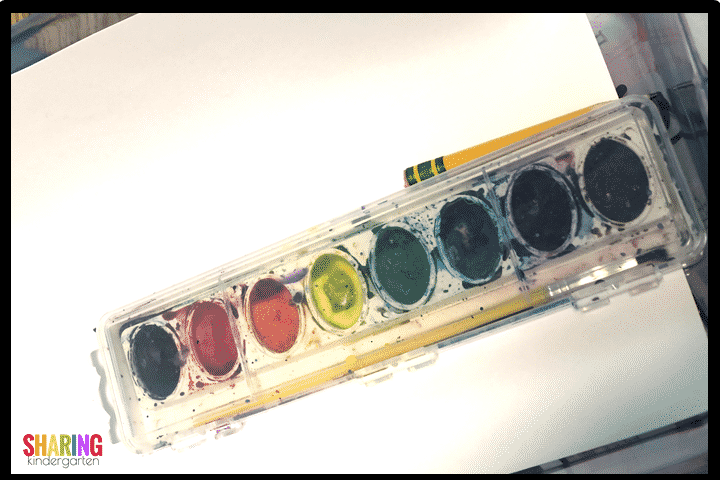
One example is this create bin. To start the year off, I put in a pencil, an older set of watercolors, and paper. I do not give my new kinders new paint. We learn how to use watercolors then I break out the nice sets. I know that I will have to clean these materials and provide new paper between students.
At first, I plan to have these bins as rotating. I will change these out every few weeks based on student interest. But I am considering apply these labels with velcro instead of hot clue so I can change them around.
You can also see some bins I need labels. Since I am working out what fits where, I have some more labels to create! Since I am organizing and problem solving this out as I go, I am not perfect. Don’t be frustrated if you aren’t either.
STORAGE
I plan to house all these bins on a bookshelf. I will be clearing out the books you see below the picture I showed you above, so all these bins will fit in one area. This will allow my students to continue to make self selected choices, but now they will make just a choice for themselves.
HOW MANY BINS
Also consider your class size. You will need at least twice as many bins as the students in your class. This allows them to play and change out bins. And this leads to me to the next step in the no contact process.
This is also a great time just to clean out! Check out this less than flattering picture. First, I need to sort a few more bins and I got through a lot of bins. Then, I found trash, lost pieces, and broken pieces. Next, I also have some items that just don’t fit in those small bins.
HOW TO MAKE NO CONTACT CENTERS CLEAN
The first step in making no contact centers clean is to give student clean centers to start with. This means clean all those toys that you are putting in those small bins. I know we didn’t get a chance to clean before we left for the summer.
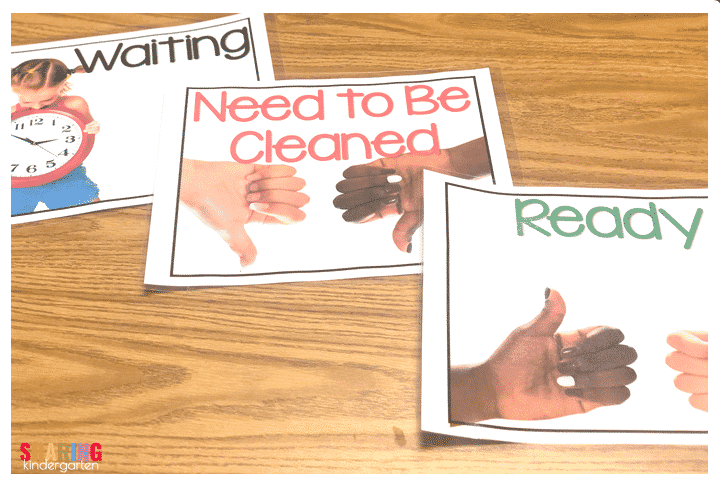
Next, give them a ready sign. (My signs are included in this download here.) I won’t put items on the center shelf that are not ready to be played with. In addition, that area will have a sign stating those items are ready to be used.
SET ASIDE A PLACE TO USED THAT NEED TO BE CLEANED
Next, set aside an area away from the clean items for students to return bins to once they have played with them. I suggest this location to be away from the “ready to be played” items to avoid any confusion or mistakes.
Then, train your students to play with their item until they are done. I am going to stress to students that they really be selective with their choice bin and when they are done with it. Once a bin goes in this “Need to be Cleaned” pile, it can’t be played with again for a whole day! (More about this is below.)
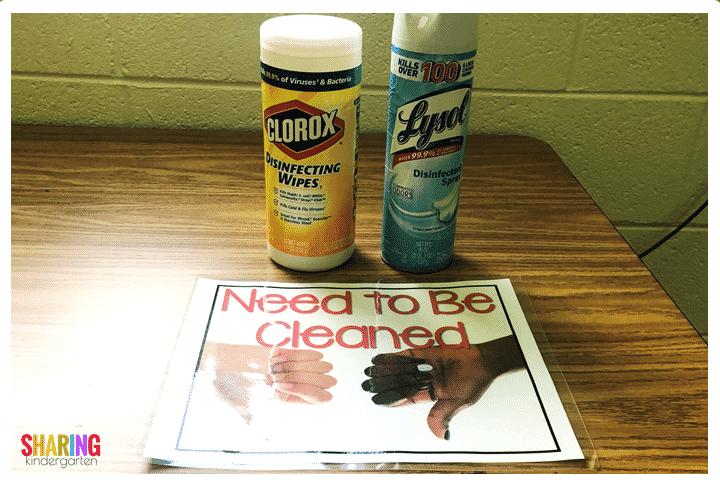
Finally, train your students to take their bin to this “Need to be Cleaned” area to be dropped off. All items in their bin should go back in the bin and the lid should be returned. Then, the bin should be placed in this area.
Another thought, if you think you may have time to return to this activity, I suggest students placing their bin in a cubby or another location. One example would be picture day. If you are using these bins then get called to pictures, student may need to leave bins out or place them in cubbies because they may get to return to the bins later that day.
CLEANING AND WAITING PERIOD
When I can, I know cleaning items according the protocol I am given is a must. (I haven’t been given that information yet, but I am also assuming it will vary area to area.) First, I plan to clean items at least once a day. I am hopeful I may be able to clean twice, but I am not sure of that. But, I plan to clean items at the end of the school day when students are not present.
Once the bins are clean, I am not going to return them to the “ready” pile just yet, I am going to put them on hold for given amount of time. I have heard some day cares have said 24 hours.
A FEW THINGS TO CONSIDER
As you can see, you will need a lot of bins! I don’t think you will need more toys, because you are just breaking down all the toys you already have into smaller amounts. You also need to be careful of students who open a bin and look, but don’t play. That bin may be considered “needs to be cleaned” and off limits for others for 24 hours.
Also, if items spill out and another student helps them clean up, this bin would have to be cleaned. That may include you helping them to clean up as well.
I plan to walk my students through these steps on the first day of school and see how they do. I plan to show them all the steps first so they can think before they make their self selected choices.
Once we master this, I know we will be better prepared for doing something similar with ELA and math groups. And YES… I have a plan for that as well I will be sharing soon.


COMMENTS