Friday, August 14, 2020

Keeping Kindergartners Engaged in Distance Learning: Edutopia


 https://www.edutopia.org/article/keeping-kindergartners-engaged-distance-learning

ONLINE LEARNING

Keeping Kindergartners Engaged in Distance Learning

Personalizing lessons and giving brain breaks can help young students stay engaged during short synchronous sessions.

August 10, 2020
A kindergarten girl engages with learning via a tablet device
Inna Reznik / Alamy Stock Photo

When remote instruction started at my school last spring, I met with my students every morning at 10 to alternate math and reading lessons virtually. At first, my kindergartners thought it was fun, different, and exciting to have class through Zoom. But it wasn’t long before online learning stopped being quite so fun and exciting. For some of the kids, it was clearly becoming monotonous.

There were lots of challenges for me in teaching virtually. The biggest was keeping the kids engaged. My teammates and I shared ideas, and I had varying amounts of success. The following are all strategies I used this past spring.

EQUITY STICKS

When we began meeting virtually, my students were excited. Everyone wanted to participate, raising their hands enthusiastically. A couple of weeks in, that changed. Some kids were still participating wholly, but others were not.

In my classroom, I use equity sticks. I could pull out a stick to randomly choose the name of a student to call on. It occurred to me that I could use these sticks in Zoom, too. I purchased sticks from Amazon and created a stick for each student in about 10 minutes.

Pros

  • I could get kids who weren’t raising their hands involved; they responded beautifully.
  • It helped me try to make sure that every student got a chance to speak during every lesson.
  • It was easy to incorporate into my lessons.

Cons

  • Some lessons simply didn’t have enough discussion points to pull each student’s stick.

PERSONALIZED OR THEMED LESSONS

As a team, we decided to present our lessons using Google Slides. Early on, we personalized these by using student names wherever we could (e.g., in a math story problem). Halfway through our time of virtual teaching, we began adding themes to our presentations (e.g., superheroes or summer food).

Pros

  • The kids loved seeing their names in the presentations.
  • The themes kept the majority of the kids interested.

Cons

  • Personalizing and incorporating themes was quite time-consuming.

MINDFULNESS BRAIN BREAKS

No matter what we did to liven up our presentations, which usually lasted about 20 minutes, some of the kids still got squirmy. From almost the beginning, we included some mindful breathing GIFs and video brain breaks. Typically, these videos ran three to five minutes and encouraged the students to move.

Pros

  • Most of the kids bought in to the breathing, which we dropped in right before the real meat of the lesson.
  • Most of the kids loved the videos we chose as our brain breaks (and I don’t have words to describe how cute they were, moving and grooving to the music).

Cons

  • Finding appropriate breathing moments and break videos was time-consuming.
  • Finding new moments and videos to use was challenging as time went on.
  • Some students were not engaging in these breaks, so that was time they were just staring at the screen. Some of these students tended to be shy about moving on camera, and the others weren’t interested in the activity.

ZOOM TOOLS

At the start, we had the kids raise their hands or use their thumbs to respond to questions. As we became more comfortable with Zoom, we were able to use some of the tools that the program has to offer—in particular, the “raise hand” and “chat” tools.

In addition to using the raise hand tool when they knew an answer, I had them use the chat box. They could type T or F for true/false questions, or they could type the answer to a math problem—I made sure they were typing only to me, not to each other.

Pros

  • The tools were easy to teach, and the kids caught on very quickly.
  • The kids loved using the tools, particularly the chat feature.
  • The tools provided lots of practice using the computer keyboard.

Cons

  • I learned that the tools needed to be used sparingly, as the students’ interest in using them lessened over time.
  • Sometimes they just wanted to type random things to me in the box, ignoring whatever lesson I was giving.

EMAILED TO-DO LISTS

It was vital for parents to be a part of the virtual learning experience. Their children needed the help, and I needed a partner in getting the kids to do their assigned work. Early on, I sent the parents a blank weekly checklist they could print out and fill in. I also emailed parents and the kids daily. I shared a list of my expectations for the next day, along with links to assignments and our Zoom classes.

Pros

  • The parents loved the checklist as an organizational tool.
  • The daily emails allowed the parents to keep track of what I expected and offered a quick and easy way to reply to me to ask questions.

Cons

  • This task could be time-consuming.
  • It was difficult to tell who was actually reading the emails.

It was recently announced that we will begin our upcoming school year online. I plan to use all of these strategies with minor adjustments. I have learned that I need to use the Zoom tools and video breaks sparingly. I know I’ll need to allow time for finding useful GIFs and videos.

These strategies were invaluable and helped keep my students engaged. I plan to brainstorm new strategies with my team this fall. If we all keep sharing our discoveries, we can keep these kids engaged in learning no matter where the learning takes place.


Great Tips for Setting the Stage for a School Year Online: from Edutopia

 https://www.edutopia.org/article/setting-stage-school-year-online

Setting the Stage for a School Year Online

The digital classroom doesn’t have to be a replica of the traditional classroom. Try these tips for different online instruction.

July 24, 2020
Elementary school teacher conducting a reading lesson through distance learning
RyanJLane / iStock

The pandemic has forced many schools to shift solely to remote online instruction, but the transition doesn’t mean teachers should try to precisely mirror the in-person classroom experience digitally, says Melanie Kitchen, an instructional technology and staff development coordinator in New York state. In Jennifer Gonzalez’s “9 Ways Online Teaching Should Be Different From Face-to-Face" for Cult of Pedagogy, Kitchen recommends ways educators can reframe and rethink online instruction so it differs from the traditional schooling experience while still meeting student learning goals.

GET OFF TO A GOOD START

Though there may be a desire to jump into content at the start of the new school year, teachers should spend time laying the groundwork for class norms and expectations for the online setting instead—just like they would in their regular classroom. 

First, Kitchen advises teachers to ensure all students are comfortable with the digital tools they will be using in remote learning, which may require some practice as a class. Take some time to incorporate social and emotional activities, Kitchen says, because camaraderie will develop a strong classroom community that will keep students more engaged in their learning.

When it comes to parents, she recommends picking a main digital platform for communication (email, text, or LMS) at the start of the year and sending weekly updates through it. Communication tools may need to be tweaked, however, depending on families’ resources at home. "When parents know where and when to look for information from you, they’ll do a better job of keeping up with it and following through on their end," Kitchen advises.

To avoid feeling overloaded by parent messages, set boundaries early in the school year about when and how parents should communicate with you. Providing tutorials on technology or troubleshooting strategies if you aren’t available can also help ensure parents adhere to these boundaries, Kitchen says. 

WORKING WITH COLLEAGUES

When it comes to interacting with colleagues remotely, Kitchen recommends continuing to schedule regular staff meetings, but making sure to incorporate emotional health and well-being check-ins during the gathering so everyone feels supported and heard. 

Outside of formal meetings, it can be valuable to establish small teacher groups to share experiences, challenges, and strategies for remote learning—this is a new reality for everyone so collaboration is key. Regular communication and planning during meetings with other teachers can also help reduce redundancy and maximize teachers’ time, Kitchen says. 

RETHINK YOUR CURRICULUM

Many staple classroom lessons and activities will not easily adapt to remote learning, so it will be necessary to spend time thinking about ways to reformat your curriculum to fit new needs, according to Kitchen.

Given the time constraints of online teaching, think about what material is absolutely critical for students to know by asking yourself questions like, “What knowledge and skills do students need to have before they move to the next grade level or the next class?” Additionally, teachers should determine what material is better suited to synchronous, or face-to-face, instruction online, and what can be done asynchronously that “students can access at any time.”

Kitchen suggests small, breakout group work allows students to collaborate and build relationships with peers. Activities in these clusters she calls "campfire groups" should be active and engaging, so she recommends the jigsaw method or discussion groups. Keep asynchronous instruction focused on video lectures and readings, she says.

CLEAR AND CONSISTENT DIRECTIONS

Assignment instructions are always valuable, but in the online context, they become even more crucial, Kitchen says. “Because you are not in the same room with students, your instructions have to work a lot harder than they do in a brick-and-mortar setting,” she says.

Like communication with parents, instructions for students need to be located in a central place and posted in a consistent way. Kitchen suggests "dogfooding" lessons, or trying out the assignment yourself first to identify shortcomings or omissions before giving it to students. She also advises presenting directions in different forms— video and written—so students can choose what works best for them. 

EVALUATING STUDENT LEARNING

Assessment should shift during distance learning, says Kitchen, who encourages placing an emphasis on frequent, formative feedback rather than grades.

When a more formal assessment is necessary, consider asking students to create something like a podcast, video, or artwork instead of taking an online test or quiz, which may lead to cheating. Summative assessments not only are hard to cheat on, but they require students to integrate and reflect on the knowledge they’ve gained from multiple lessons.


Monday, July 20, 2020

Distance Learning Ideas from a lovely blog

From Angel Honts


Distance Learning Ideas

Ideas for Distance Learning
Ideas for student learning online
Here are 10 ideas for your class meetings during distance learning. I use the Google Meet platform but these would work on Zoom as well.

1. Breathing – In school we always started our class meetings with taking 3 deep breaths. This helps us to relax and focus. There are lots of ideas out there for different ways to breathe and sometimes I let my kids make up their own. Here’s one example of a Breathing tool from Conscious Discipline. For our distance learning, we use STAR -Smile Take A breath and Relax. You can also say “smell the rose (breathe in through your nose) and blow out the candles” (exhale out your mouth)
2. Go Noodle-We used Go Noodle for brain breaks and transitions in school. During our distance learning, I tell the kids to make sure they have room to move. I share my screen and then pick one of our favorite Go Noodle selections. Check out their fabulous website Go Noodle.
3. Flashcards-During our distance learning I have been using flashcards as a warm up. I’ve been making my own- sometimes to review concepts or just for fun-like would rather? (See #10) I put the card up and the first person can unmute and answer. Sometimes to make it fun, I say “If you have the answer, put your finger on your nose.” Then I will call on someone to answer. I also use the chat feature-see more about that in a bit.
Game Ideas
4. My name is-During our morning meetings we would often play games. One of our favorites was My name is ____ and I can ___. Students stand in a circle with voices off. I would start and my example might be “My name is Mrs. Honts and I can do this” (I might dab or do a disco dance move). Students would repeat and say “Her name is Mrs. Honts and she can (and then they would copy my moves). For distance learning, I say, “Mute yourself and then look straight at the camera and smile when you are ready.”
I call on someone to start and I remind students that whatever action they do, we must be able to see it. They love the challenge of this new version!
5. Good news, bad news or no news today-This was also something we did in our classroom-usually on Mondays. For our distance learning, I call on each student and they unmute and say good news or bad news and then share their news. If they don’t have anything, they say “no news today.” When their turn in over, they mute themselves again.
Idea for Distance Learning
6. Choose a Letter– Assign each student to find an item in their home that starts with the same letter as their name. You can do this ahead of time or you can give them the direction and set a timer. At the end of the time students can share what they found in their home. Even during distance learning, I use sentence frames to practice academic language. Here’s an example
My name is Angel and I found an apple because I like apples.
My name is _________ and I found a ______ because __________.
7. Singing-You could sing a song together-we’ve had several birthdays during distance learning so of course we’ve sung to our classmates. We have a school song and kids love to sing that too as it brings us all together. You can play Disney songs (Let it Go anyone?) and have a sing along.
8. 20 Questions– This is alway a favorite game to play anytime. During our distance learning meetings, we choose a noun first-person, place, thing or animal. I start usually by choosing a student and everyone takes turns asking questions. I let the winner choose the next time.
9. Chat feature-When we first started with distance learning, I taught my students how to use the chat feature. I created a screencast to show them where it was and how to access it. We also discussed expectations. I use the chat feature as an opportunity for students to respond to questions. Students are expected to put their answer in the chat box. I can call out when students get the correct answers or when they need to try again. During a spelling review, I might ask “what letters make the /ch/ sound?” The possibilities are endless!
When our meeting is over I can go back through and look at the responses. I often record our meetings to send to families who aren’t able to attend. Parents are aware that meetings are recorded. Sometimes my instructional assistant joins our Google Meet and she keeps track of questions and answers.
September Would You Rather
10. Would you rather?-My students really enjoy thinking about would you rather questions. These questions are fun and provide practice for answering in complete sentences. In addition students practice supporting their opinion. Here are some Fall Opinion Writing Worksheets. During a Google Meet, you can ask the questions and have students respond individually or give a thumbs up with their answer choice. Here’s a free sample of Would You Rather Questions.
As you send your students off for the summer, here is a blog post with a list of Fun ideas for kids that they can do with their families. Want the quick checklist version? Click here to get your freebie!
I know these ideas will help you keep your kids engaged during your distance learning.
Until next time,
Angel

Great social distance kindergarten ideas

From a great blog by Mary Amoson.  Terrific Ideas!

https://sharingkindergarten.com/how-to-make-and-manage-no-contact-centers/?fbclid=IwAR1Fdfhy16ICnk_WETc94op6Sf2FqGnVsTTYBMtRVTIU6MgOj8YcgCcEqLc

HOW TO MAKE AND MANAGE NO CONTACT CENTERS

The big question in education is how can we keep students in one room, engaging our learners, and still allowing them to be well… KIDS?! Every school and every district will have different needs, but one thing I am sure that will be the same is this: no contact. So let’s dive into how we can still make and manage no contact centers in Kindergarten.

WHAT DO I CALL CENTERS?

Every teacher, school, area, and so on call different thing in their classroom by different words. When I say centers, some of you will instantly think about ELA activities or Math things. Centers in my classroom always start with PLAY and move towards skill building in the month of August.
Make sure you check with your specific school about what you can and can’t do!
We play as we learn to make a self selected choice, play in that select area for a period of time, clean up after ourselves, and then move on to another activity. All of these are skills I need my learners to master so they can eventually work on skill building.
My first thought with no contact centers was HOW to make this work with PLAY. My big thought is how we, meaning the class, must master play first. We won’t have typical Kindergartens this year, but instead we will most likely have a hybrid group of students who have been home for quite a while and some how didn’t finish a prekinder experience. These facts matter. Diving into curriculum early may not be our best bet this year.

THE BEFORE PICTURE

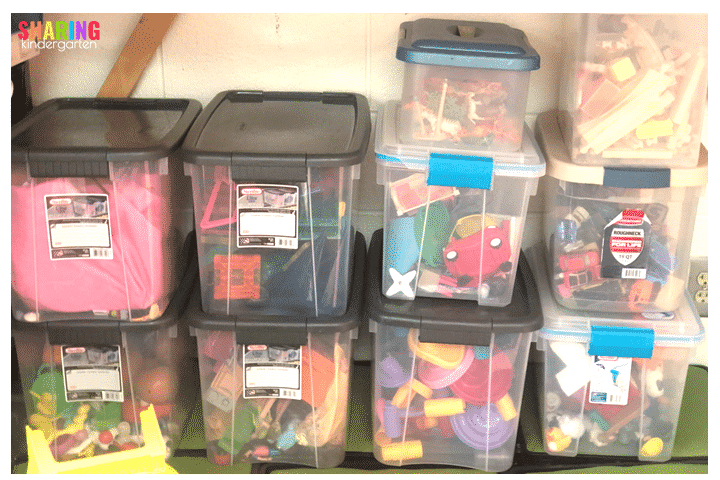
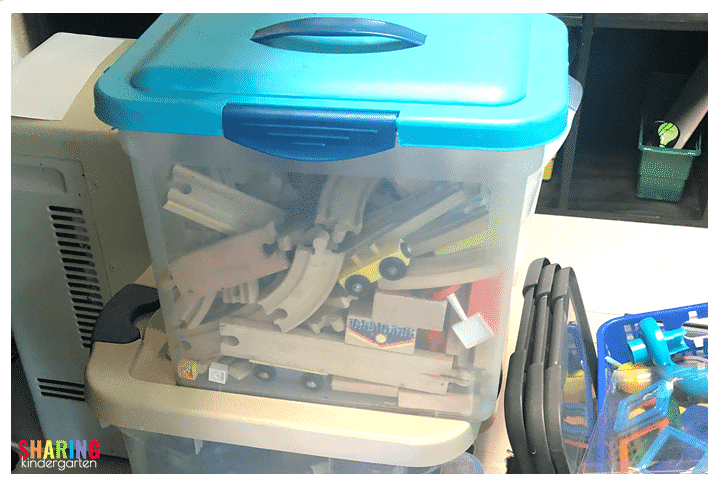
Here is an image of my play activities in my classroom. We typically put one tub on a table and work with students to share, take turns, and get along with each other. This is a huge skill we typically work towards in Kindergarten.
We clean these toys regularly but students typically touch them together at a table. I want to keep the toys, but I have to work on how to allow my learners to play without contact.

THE PLAN

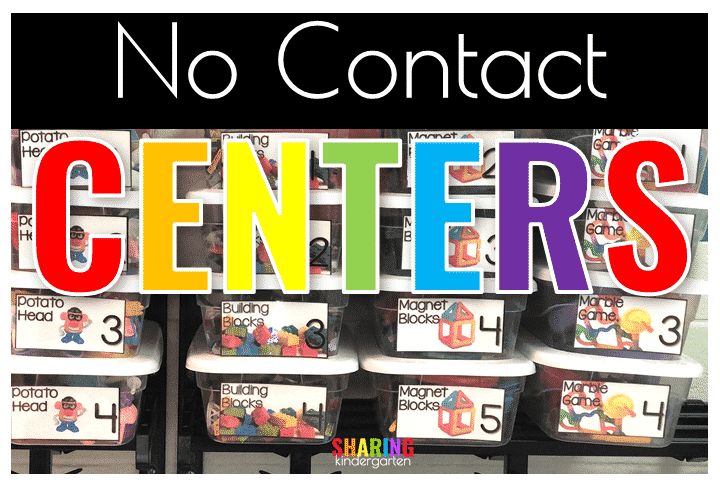
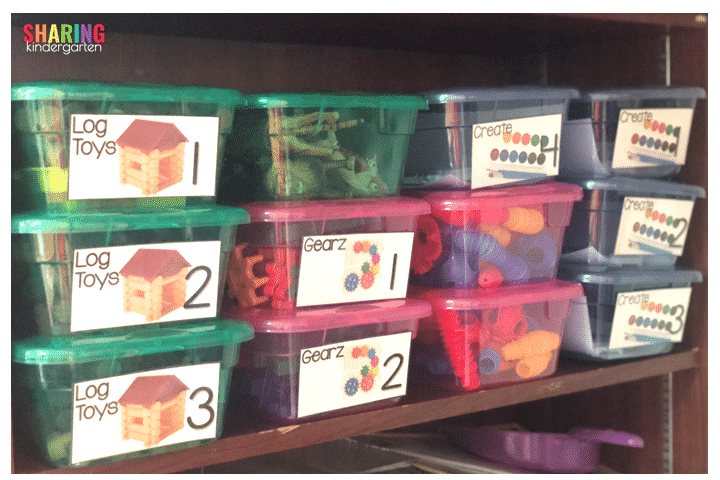
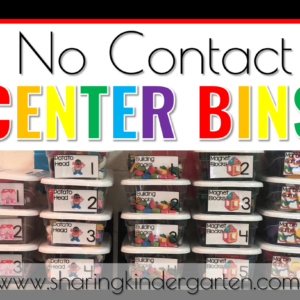
My solution to no contact centers seems pretty easy; break down the larger bins into individual bins so students can still have access to the toys, but not access to sharing toys.
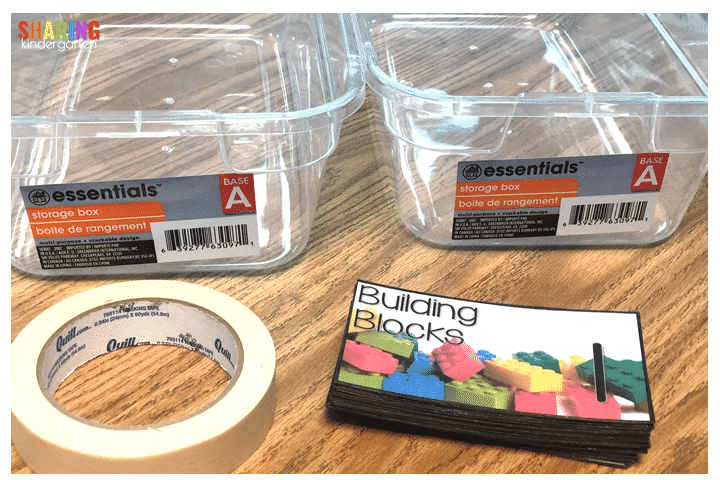
I went to The Dollar Tree to grab LOTS of bins. These clear storage boxes will work great. I also added some no contact center labels for each bin. Since I am working through how this will work in my classroom, I am applying the labels with tape until I have everything sorted, then I will come back with hot glue to secure.
I wanted bins with lids, items in bins to be enough to engage students for a short period of time, toys to limit their movement from a designed area (think cars, trains, etc.), and to provide activities in the bins that can be cleaned.

SORTING ITEMS

I went through each large toy bin, one by one. I put away any toys that did not have 100% hard surfaces or anything I couldn’t clean, like foam or cloth. Those will not be going to be used this upcoming year.
I also have to make sure each bin has enough toys in it to keep students occupied, but that the lid will still close. Working through each toy bin actually took me quite a bit of time. More time than I thought. I did not want to rush through it and have issues when we go to centers live with students. This isn’t a dump and rush through job.
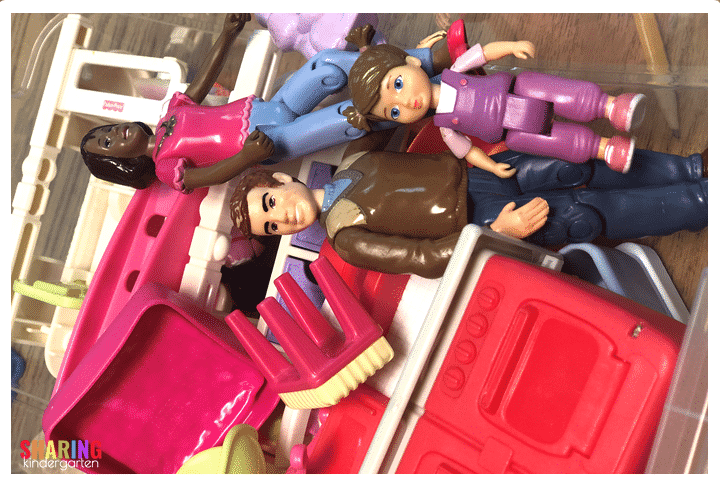
Next, I have to take time to make each small bin work. You can see my family and house items. I took the large play house away and divided up the furniture by rooms into 4 small bins. Each bin also gets people and a baby.
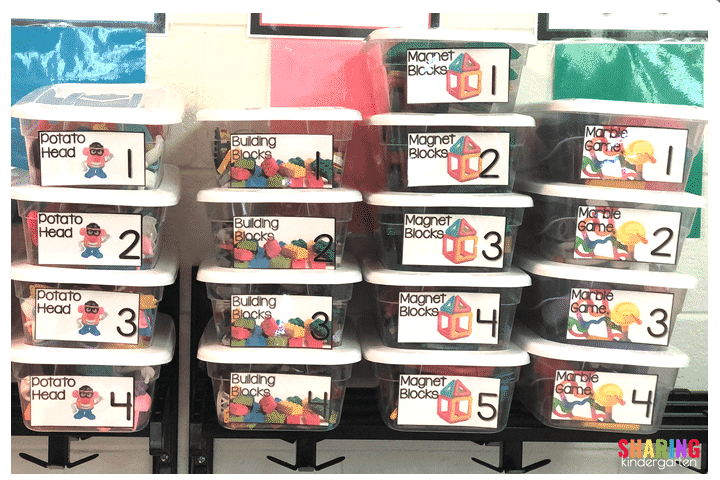
All my lego centers have wheels and a person. Then, each marble game has bases and a marble. Next, potato heads have matching parts for arms and ears, and a variety of items to make them silly. As you can see, take this time NOW to save you headaches later.

CENTERS THAT WILL STAY ALL YEAR

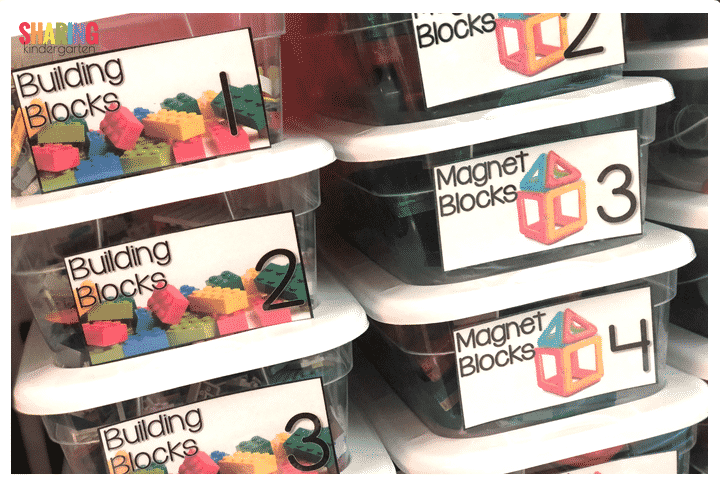
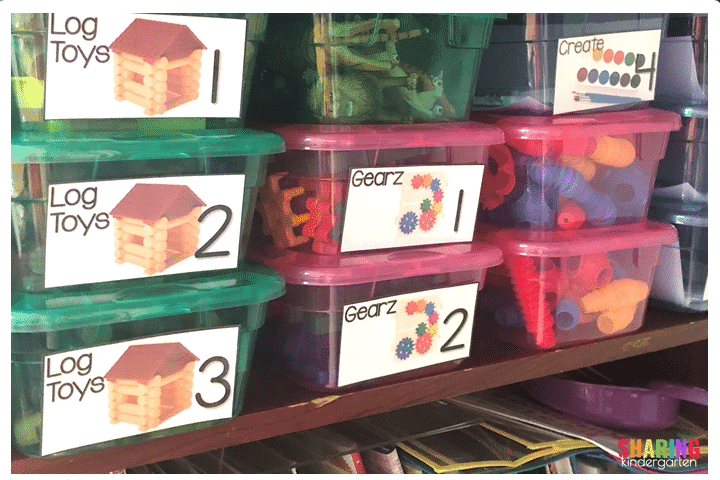
Next, I made sure to label each bin with a number. I envision students having a favorite doll they want to play with that is in Doll #2 bin or a lego man from Lego #3 bin. Since we desire no contact from student to student, labeling bins this way may be a huge help in the long run.
All the bins that are in clear containers are bins that will stay in there the entire year. These are the classic toys we play with often and year after year.
Just having this done lowers my stress level so much. Rainy recesses are no longer going to be an issue. We can do this! And I will explain my no contact plan soon, too!

BINS THAT CAN CHANGE

Next, I grabbed some colorful bins at The Dollar Tree. These will be bins that I will change out material from based on student interest. My students generally like these materials, but don’t play with them ALL the time or these bins may have materials that I need to replenish or restock, such as art.
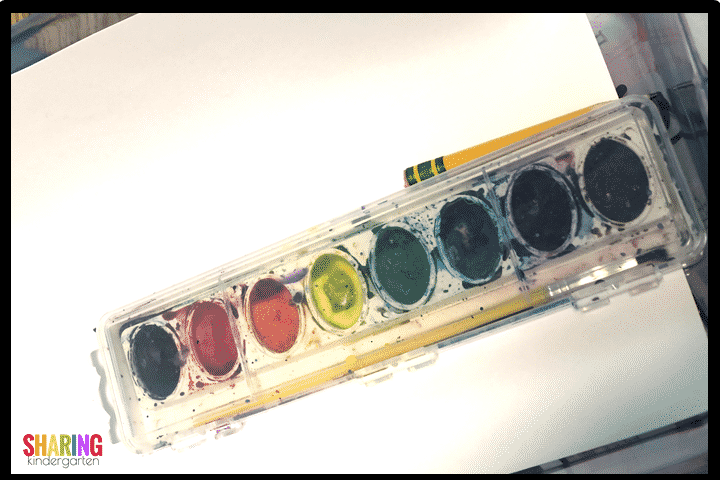
One example is this create bin. To start the year off, I put in a pencil, an older set of watercolors, and paper. I do not give my new kinders new paint. We learn how to use watercolors then I break out the nice sets. I know that I will have to clean these materials and provide new paper between students.
At first, I plan to have these bins as rotating. I will change these out every few weeks based on student interest. But I am considering apply these labels with velcro instead of hot clue so I can change them around.
You can also see some bins I need labels. Since I am working out what fits where, I have some more labels to create! Since I am organizing and problem solving this out as I go, I am not perfect. Don’t be frustrated if you aren’t either.

STORAGE

I plan to house all these bins on a bookshelf. I will be clearing out the books you see below the picture I showed you above, so all these bins will fit in one area. This will allow my students to continue to make self selected choices, but now they will make just a choice for themselves.

HOW MANY BINS

Also consider your class size. You will need at least twice as many bins as the students in your class. This allows them to play and change out bins. And this leads to me to the next step in the no contact process.
This is also a great time just to clean out! Check out this less than flattering picture. First, I need to sort a few more bins and I got through a lot of bins. Then, I found trash, lost pieces, and broken pieces. Next, I also have some items that just don’t fit in those small bins.

HOW TO MAKE NO CONTACT CENTERS CLEAN

The first step in making no contact centers clean is to give student clean centers to start with. This means clean all those toys that you are putting in those small bins. I know we didn’t get a chance to clean before we left for the summer.
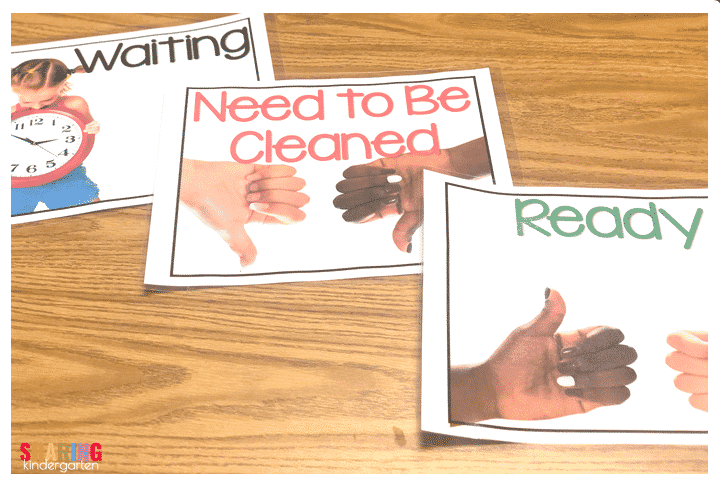
Next, give them a ready sign. (My signs are included in this download here.) I won’t put items on the center shelf that are not ready to be played with. In addition, that area will have a sign stating those items are ready to be used.

SET ASIDE A PLACE TO USED THAT NEED TO BE CLEANED

Next, set aside an area away from the clean items for students to return bins to once they have played with them. I suggest this location to be away from the “ready to be played” items to avoid any confusion or mistakes.
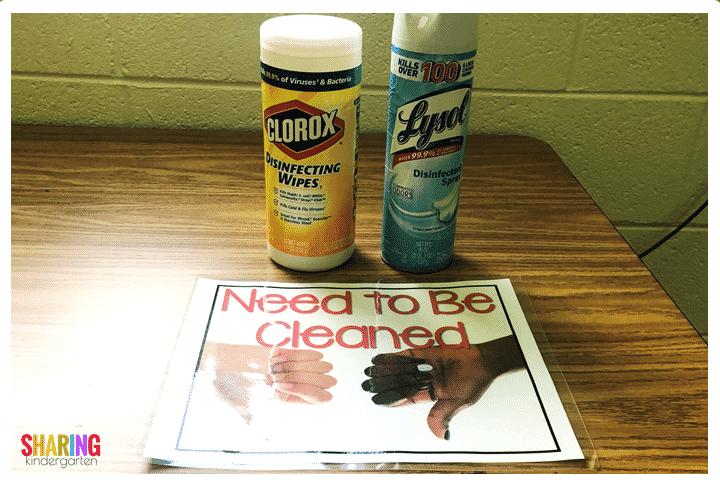
Then, train your students to play with their item until they are done. I am going to stress to students that they really be selective with their choice bin and when they are done with it. Once a bin goes in this “Need to be Cleaned” pile, it can’t be played with again for a whole day! (More about this is below.)
Finally, train your students to take their bin to this “Need to be Cleaned” area to be dropped off. All items in their bin should go back in the bin and the lid should be returned. Then, the bin should be placed in this area.

SOME IDEAS FOR YOUR SANITY

Another thought, if you think you may have time to return to this activity, I suggest students placing their bin in a cubby or another location. One example would be picture day. If you are using these bins then get called to pictures, student may need to leave bins out or place them in cubbies because they may get to return to the bins later that day.

CLEANING AND WAITING PERIOD

When I can, I know cleaning items according the protocol I am given is a must. (I haven’t been given that information yet, but I am also assuming it will vary area to area.) First, I plan to clean items at least once a day. I am hopeful I may be able to clean twice, but I am not sure of that. But, I plan to clean items at the end of the school day when students are not present.
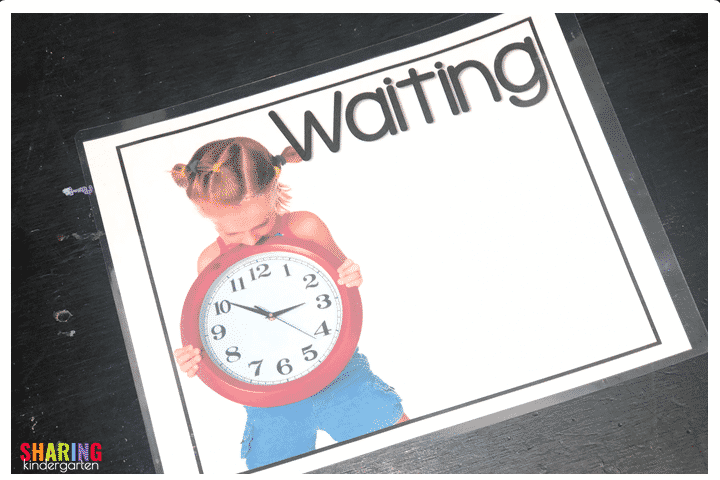
Once the bins are clean, I am not going to return them to the “ready” pile just yet, I am going to put them on hold for given amount of time. I have heard some day cares have said 24 hours.

A FEW THINGS TO CONSIDER

As you can see, you will need a lot of bins! I don’t think you will need more toys, because you are just breaking down all the toys you already have into smaller amounts. You also need to be careful of students who open a bin and look, but don’t play. That bin may be considered “needs to be cleaned” and off limits for others for 24 hours.
I will be encouraging my students to make self selected choices they want to play with for a chunk of time. And I will encourage my students to be thoughtful for deciding they are done with an item. I want my labels to reflect what is inside each bin to help with their choices.
Also, if items spill out and another student helps them clean up, this bin would have to be cleaned. That may include you helping them to clean up as well.
I plan to walk my students through these steps on the first day of school and see how they do. I plan to show them all the steps first so they can think before they make their self selected choices.
Once we master this, I know we will be better prepared for doing something similar with ELA and math groups. And YES… I have a plan for that as well I will be sharing soon.
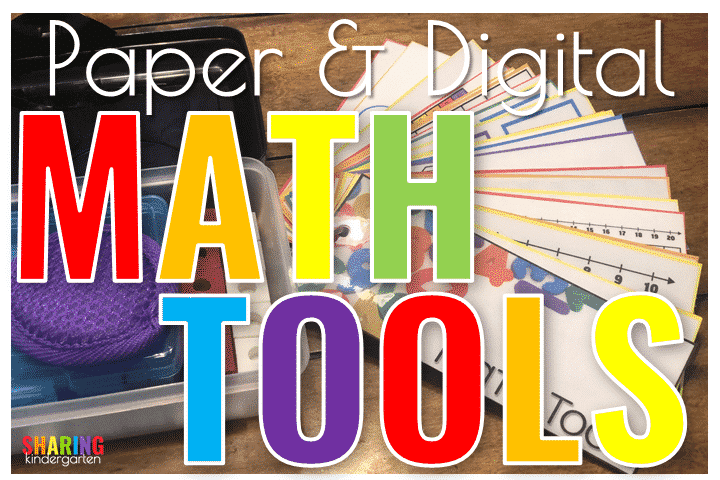
Get ready for math with these math tools for paper & digital learning.

COMMENTS

  1. Debbie says